More Design
Section 1 More Design Introduction
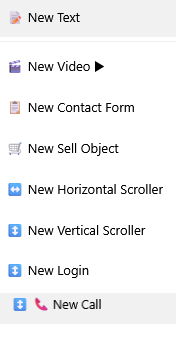
Apart from all the object types we can create in Images/Objects, there are several more in Text/Others.
Section 2 Text Object
Click on Text/Others from the top menu bar then select New Text.
This will create a new text object..
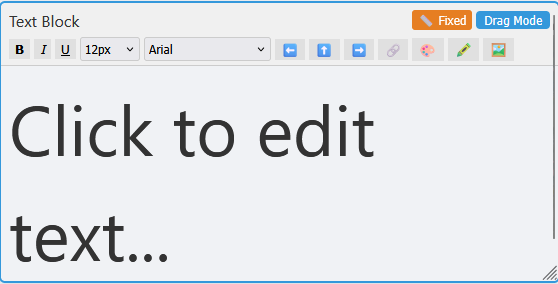
Text objects behave like other objects for adding, borders, corners etc from the Top Menu Bar.
But they also have thier own menu bar for applying effects to the text area contents.

There is a button next to the usual Drag mode button which says "Fixed" when you create the text object.
Clicking the button moves into fixed text mode (and the button now says "Stretchy").
When stretchy is selected, the font sizes make no difference as the text will just resize when you resize the object.
Fixed mode means you select font size from dropdown menu and it stays the fixed size no matter how you resize the object.
When a text object is created it is initially in stretchy mode, try resizing, then switch to fixed, change font size and resize again.
To start typing just delete initial text and type.
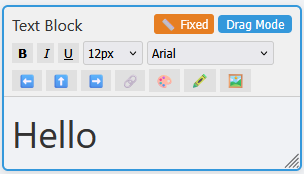
The next row has all the usual text editing functions like bold, italic, underline, font size, font and text alignment.
Then comes buttons for adding external links, text colour terxt highlight and lastly Panel Background Colour. ).
The Panel background is initially invisible like most other objects.
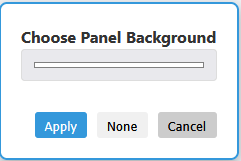
Clicking Panel background will open a panel for you to select colour. After selecting colour click apply to set the panel colour.
You can also select "None" then apply to make the background invisible again.
Section 3 Video Objects
We do not provide a video hosting service and leave that to the likes of youtube, tik tok etc.
We do however allow you to embed videos on your site from these other providers.
We also allow the uploading of small videos (5mb max) to be used as an integral part of your page design.
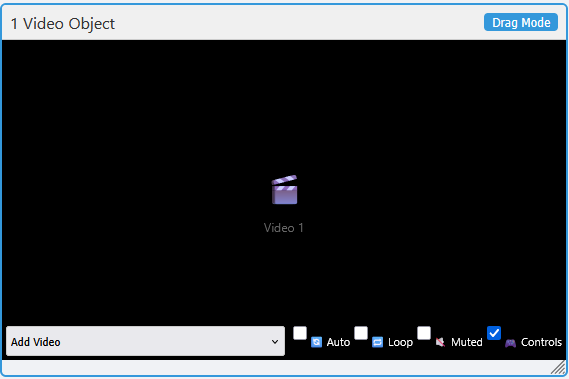
Create a video object then select "Add Video" this will show a dropdown with options.
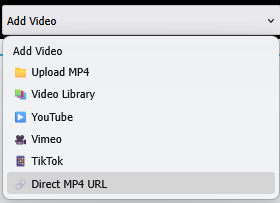
You will see Add Video (discussed later), Video Library (list of uploaded videos), Youtube, Vimeo, Tik Tok and finally Direct MP4 Url.
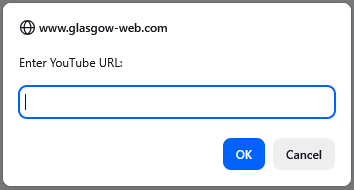
Youtube, Vimeo, Tik Tok allow you to copy url of a video from these platforms and paste it here.
You may have seen on other websites, a video in the background stretched over the top of the page.
The video may have images, text or a menu over the top of it.
This is the purpose of Uploading video for your website.
These videos are high resolution with letter-boxing and black borders removed and then cut to around 5 seconds and looped on your page.
We can create these for you, but as it is time consuming we will have to charge a fee.
Section 4 Contact Form Object
New Contact Form Object allows you to create a basic form, then you can add or remove fields.
Click Text/Others on top menu bar, then select "New Contact Form".
You now have a basic form object on the page .
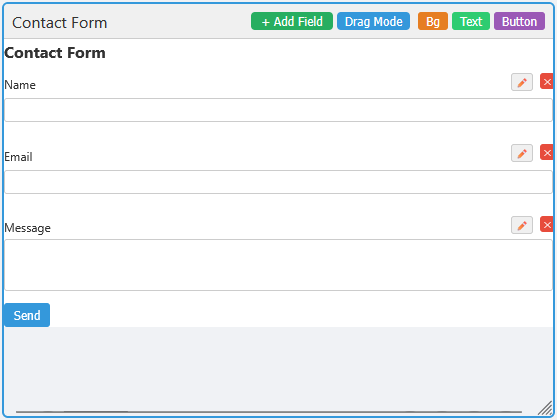
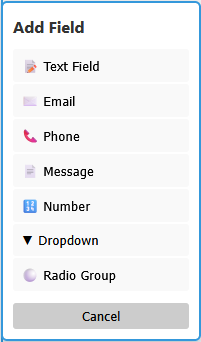
Click on Add Fields and you will see the different options available.
Try them out and see what they produce.
To edit a field title etc.. click on the pencil icon to the right and to delete click on delete icon.
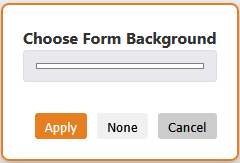
There are three otgher buttons on top Bg for background colour, Text for Text colour and Button for button colour.
They will open up the colour pallet for you to select .
Bg opens a new panel for you to select colour or choose None to make form panel background invisible.
Section 5 Sell Object
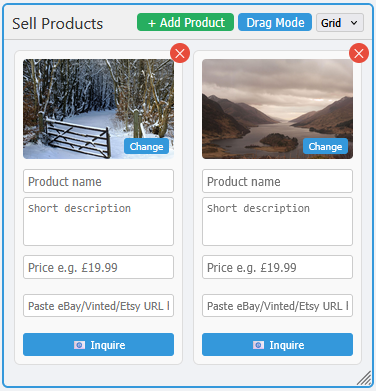
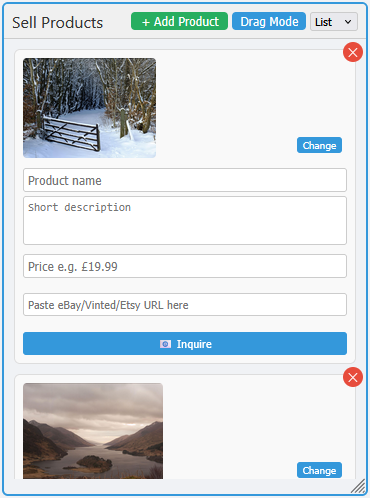
Sell objects are designed to allow you to advertise items you have for sale.
You add an image of the item, a description, the price and you can paste a link to where the item is listed for sale, or just use the enquire button.
The enquire button sends a message to your email address.
We haven't added the ability for people to buy directly from your website, this is due to the fact that you would have to enter payment gateway details.
We may develop and implement direct site payments if enough people request it.
For now it is used for advertising goods listed elsewhere or for people to directly contact you about them.
Below is an image of an empty sell object.
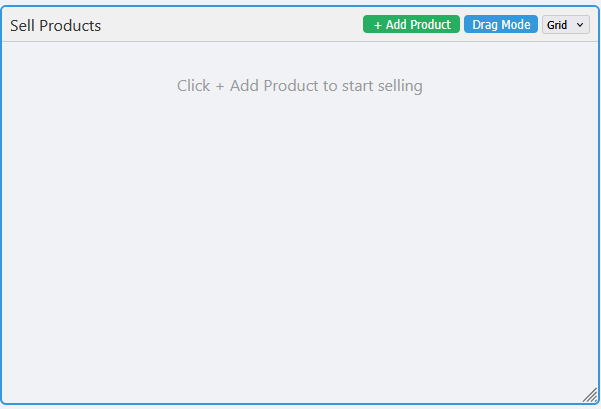
You can choose to display items for sale in Grid mode or List mode
Section 6 Scrollers
Scrollers allow things to scroll across the screen.
You can choose between horizontal scrollers (scroll right to left) and vertical scrollers (scroll bottom to top).
Click on "Text/Others" button on top menu bar and look for the buttons shown below.
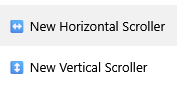
Click to create a horizontal scroller and you will have an empty horizonatal scroller on your screen.
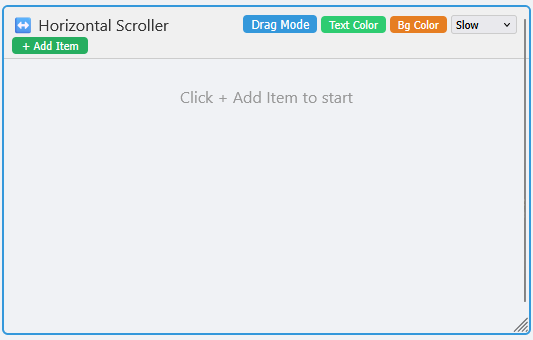
We can add text or images to the scroller.
Click on the "+Add Item" button to add your first item.
You will then get a and Add Item pop-up box .
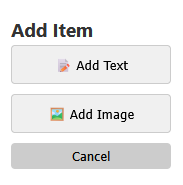
Click Add image first you will see a grey area appear in the scroller with text "click to select image".
You will also see a red square with an "x", this is attached to all items added to a scroller and is used to remove an item.
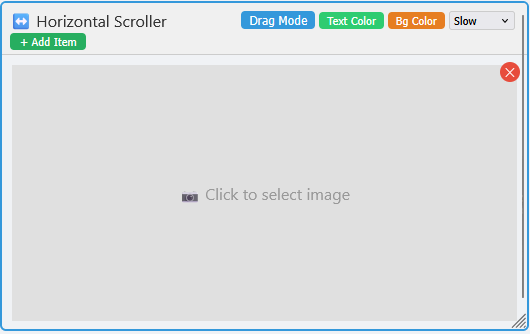
Click on the grey area saying "click to select image".
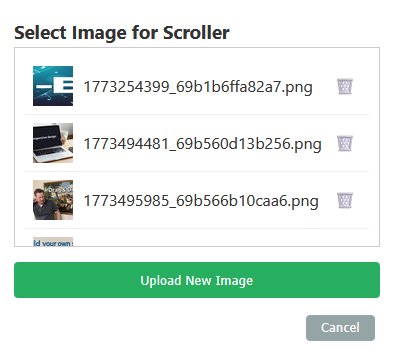
You now get the Select Scroler Image pop up box.
Select the image you want or click to upload a new one..
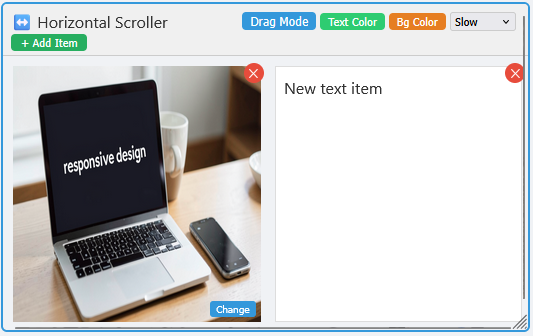
After adding an image, go back and click on "+Add Item" and choose Text Item from the pop up box.
You now have a new text item to the right of your image.
Just click in the text area to change the text.
There are some extra buttons on scroller objects apart from the usual Drag Mode button.
First there is Text Colour. this button allows you to change the colour of text in all text items in the scroller at once.
The colour is changed for all text items present, if you then add a new one you will have to change colour again.

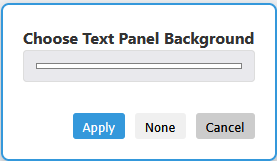
Next there is a Bg Colour button. This changes the colour of the background panel for all included text items.
Clicking the button will show a pop up shown in below image.
Select the colour then click apply. Choosing none, then apply makes the background invisible.
Next there is a dropdown with slow, medium and fast. This controls how fast the scroller will move.

Section 7 Login Object
New Login can be found under "Text/Others" menu on the top menu bar. It creates a new login form for your site.
when your site is created, you must login from the main website, however creating a login form on a page allows you to login from your own site.

Clicking the button will produce a login object on the screen.
when your site is created, you must login from the main website, however creating a login form on a page allows you to login from your own site.
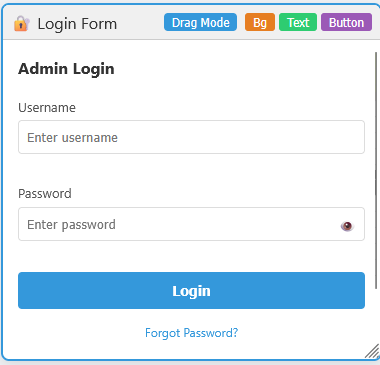
There are buttons for text colour Bg colour and button colour.
Text colour is for fixed text and not what people type.
Button colour is to change the colour of the Send Button.
Background colour is for main panel background (initially white) You can also choose none for transparent background.
Section 8 Video Call Object
Last object we can create is Video Call Objects.
This allows people to make direct video calls to you from your website.
You have complete control over which calls you wish to answer and you can switch to not available mode.
Click on new call from "Text/Others" in the top menu bar.
You will then see a call object on your screen.
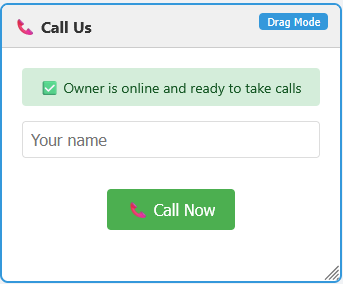
Once you have a call object saved to a page, this is how it is used.
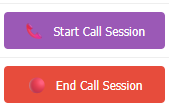
Under the "Page" menu in the top menu bar you will see two buttons, "Start Call Session" and "End Call Session"
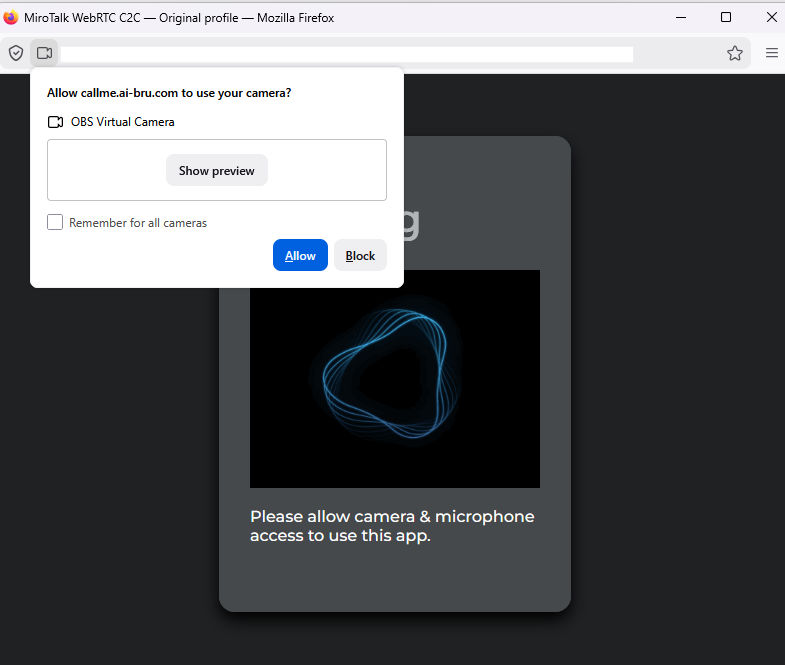
Click on Start Call Session and the screen below pops up.
Allow webcam and microphone use here for it to work.
If you have no cam, or don't want to use it then select microphone only.
When you begin a call session a coded listener is set up which listens to see if anybody makes a call.
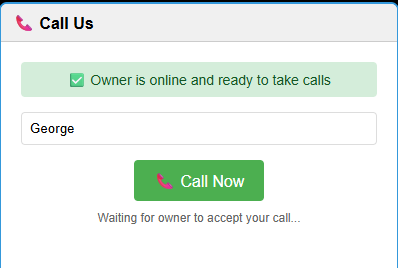
When they do make a call, then on their end it says waiting, and you get a pop up asking if you want to accept.
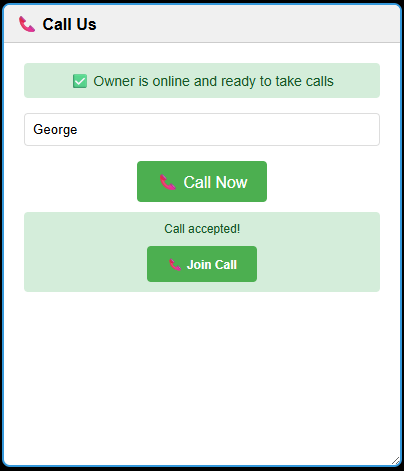
Visitors to your site can enter their name for the call and if they don't it will be shown as visitor.
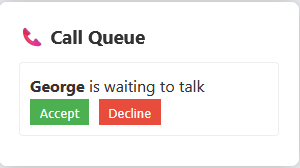
When you click accept, the visitor is sent a new button to allow him to join the call.
when they click to join, then you will see them and they will see you.
When in a call you can change settings, turn off cam, turn off mic etc.
There is also a button to share screen on your pc/laptop.
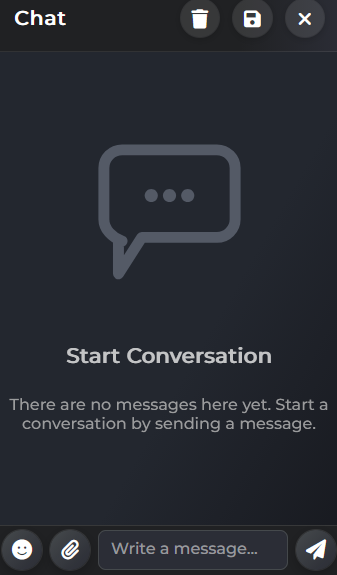
A useful tool is the chat button, it opens a panel for each of you to type to each other..
When the call is over, click on the end call button on the call screen.
After ending a call, remember that you have a chat session open and visitors are shown that you are ready to take calls.
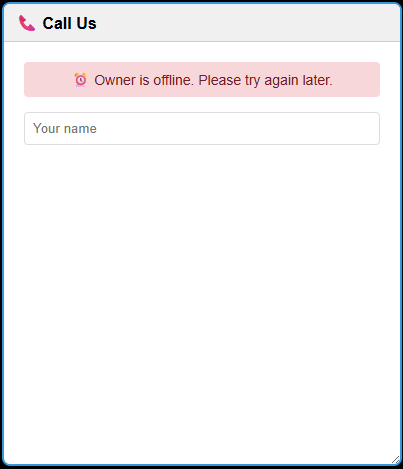
Click on End Call Session and the listener will stop and visitors to your site will be shown as below.
Section 9 Links & labels
On the top menu bar you will find the Link/Labels menu.
These are used on objects containing images or shapes.
So to try, first create an image object with one image and make sure it is selected (blue border).
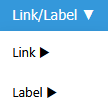
Now go to link/labels menu and choose link.
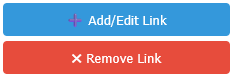
Then choose add/edit link.
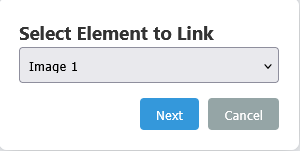
You will now be asked in the pop up to chose element inside the object (we just have one image so click next.
Now you have a panel with a dropdown asking Exteranl URL or Page On This Site .
If you choose external url just page the url of the site you want the link to go to.
If you choose page on your site then you can select to link to a page on your site.
This is how buttons are made.
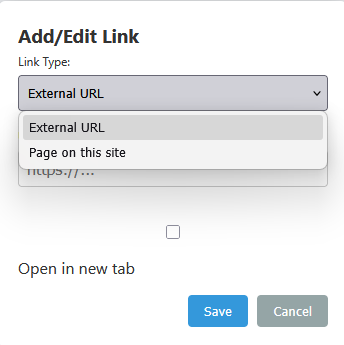
You will also see "open in new tab" with a box to tick. Use this for external links and visitors stay on your page with entered url in another tab.
Adding labels has similar buttons to adding links.
Click on Add/Edit Labels (after selecting your image object of course).
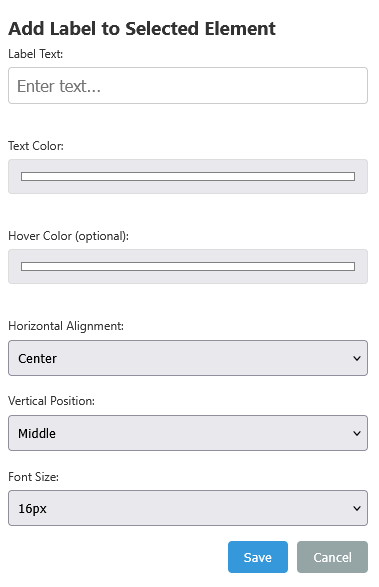
You will be presented with the panel as shown below.
Enter label text, choose text colour, choose hover colour if required, choose horizontal/ vertical position and then font size.
Try it out to see how it works.
Section 10 Creating Basic Menus
Assuming that you have learned about all the features so far.
We will assume that your website has three pages, "home, Next & Contact".
First, make the page colour black then create a square shape object (image object menu) and choose to have three shapes.
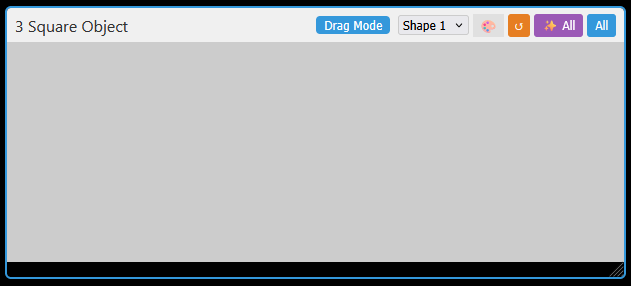
Now go to Format menu add add some spacing bewteen the squares.
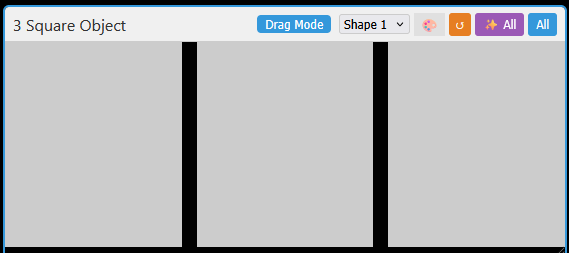
Now go to format menu and choose corners then round.
Increase the corner size until it stops adding to the square shapes.
It should now look like the image below.
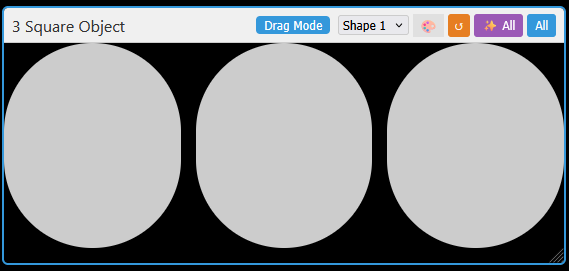
Now resize the object until it looks similar to the below image.

Now add labels to each square with text "Home, Next & Contact".
Now add links to each square.
Now on the object, choose the blue "All" button to change the colour of the shapes.
Choose the same colour as the page background and we have a basic text menu.

Try adding a colour to your shapes.
Now go to format menu and choose borders.
Choose a border colour for all then turn off Right, Top And bottom borders.
Increase/decrease border size and you will see an effect similar to the tips on this page.

Section 11 SEO
SEO stands for search engine optimisation.
When search engines like google etc add your site to their list it looks at text on your pages to see hwat its all about.
Further to this they also look at page title and page descriptions.
It is of no concern to you unless you need your site to be found - a business etc.
To add seo options load a page into the editor, then click on SEO settings button in Page menu of top menu bar.
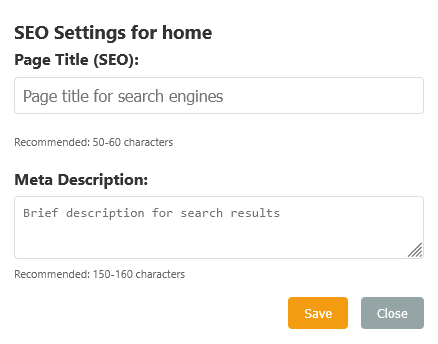
You will get a panel that allows you to add a title to the page and a short description.
Titles and descriptions should be relevant.
The titl;e of my home page is "Web Site Creator And Editor".
The description is a short paragraph relevant to my home page text.
Section 12 Dashboard
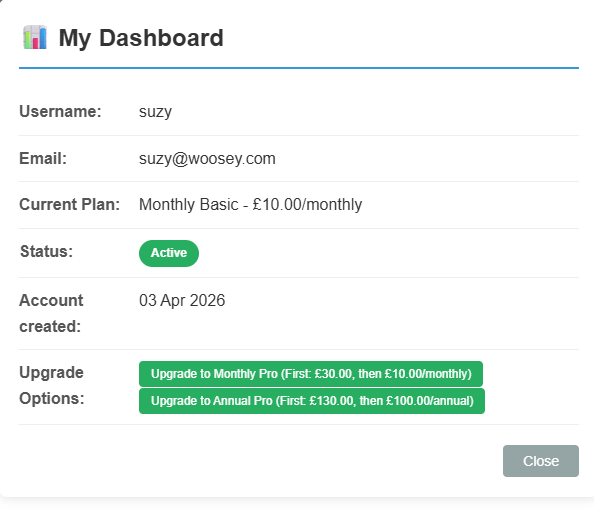
Under the page menu on the top menu bar is the option "Dashboard".
The dashboard shows your account details and also allows you to upgrade/downgrade your account.
The dashboard is not an object and won't be saved to a page.
The dasboard is just a pop up panel.