Basic Design
Section 1 Basic Design Introduction
Pages are made by adding objects from the menu bar and editing the objects we added.

There are all sorts of different objects that can be added from the menu bar.
Images, video, text, forms and calls to name a few, but first we need to understand objects and how to use them.
An object is a block on the page that contains something.
From the menu bar we can create objects but we can also add effects to them.
Some objects can also have menu bars attached that allows us to do things to what's inside the object.
Let's begin with a blank screen, at any time you can click on pages and choose Refresh Page, this will unload any pages and go back to blank canvas.

Section 2 Create An Object
Pages are made by adding objects from the menu bar and editing the objects we added.
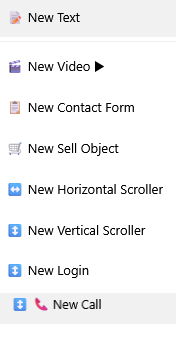
There are two sections on the menu bar for creating objects, Text/Others and Image Objects.
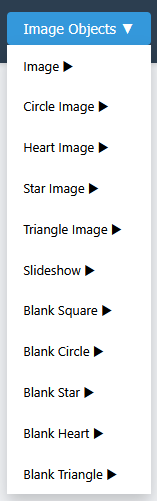
To start simple click on Image Objects, then click on Image.
You will see a list of numbers 1-10, Each image object can have up to 10 images inside.
For now choose 1 to create an object with one image inside.
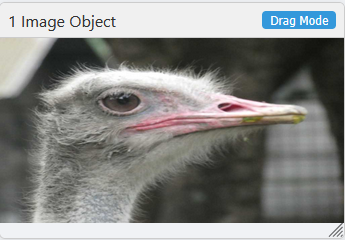
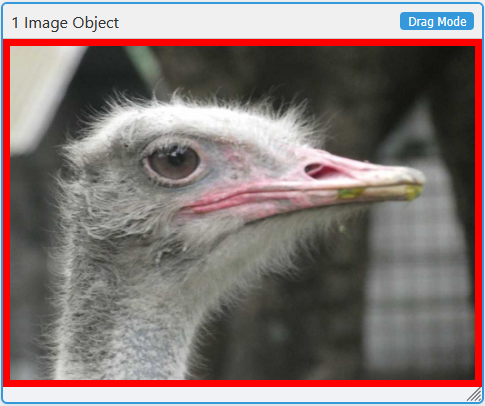
We now have an image object on the page like the one below.
Section 3 Dragging/Resizing Objects
First of all we have to select the object that we want to work on.
Click on the middle of an object and you will see that a blue border appears around it.
The blue border always lets you know which object you have selected..
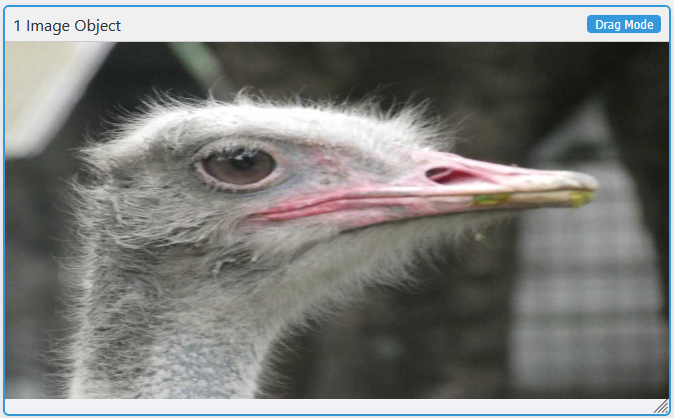
When you select an object you will see a "drag" button at top.
Click on the drag button and it switches to "resize".
Choose whether to drag or resize the object by using this changing button.
When you click on drag, you will see an orange box appear on left of object.
You drag the object around the screen by clicking on the orange suare "drag handle" and whilst keeping mouse button down, drag it around the screen.
Let the mouse button go to drop it where you want it.


When you want to make the object bigger or smaller.
Click on the resize button.
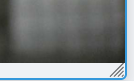
Then look at bottom right of the object and you will see little lines appear as shown in image.
Move the cursor over the lines until you see two arrows pointing in each direction.
When you see the arrows, click the mouse button and drag and it will get bigger, move it back the way for smaller.
Let the mouse button go when you have the size you want.
Section 4 Borders
We can apply coloured borders to what's inside objects.
Click on the image object we created to select it (blue border appears on outside).
Now go to Format on the top Menu bar.
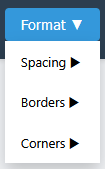
Click on Format and from the dropdown menu choose Borders
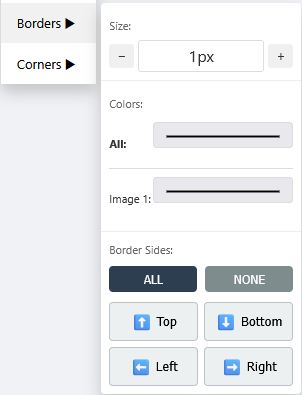
It shows Size first, then Colours with All & Image 1.
If we earlier chose an object with more than one image then it would show image1, image2 etc here.
First of all we set All so click on the bar to the right of "All:" this will then open up a colour selector.
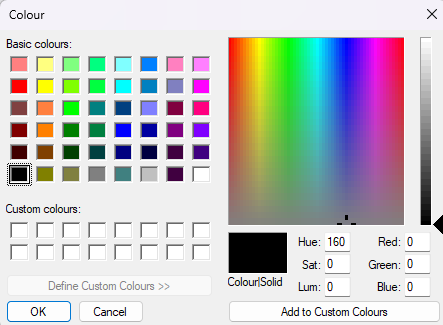
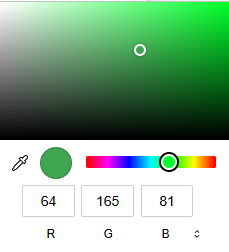
Firefox browser uses a different colour picker from chrome and edge.
Firefox colour picker is the image on left and chrome etc on right.
Personally I find firefox colour picker easier to use: all you do is click a colour, use slider on right to fine tune the colour shade then click ok.
For Chrome etc, use the slider at bottom to select base colour, then drag the little circle around the box to fine tune colour shade.
After selecting like this in chrome etc, you then have to click on the page away from the colour selector, then the colour will be applied.
Chrome etc has an extra little tool (looks like an eye dropper or something), click on that then you can move it over any colour you can see anywhere on your screen, then click to use it.
Once the border colour is chosen, we must choose the border size.
Play around with size + & - to see how it looks.
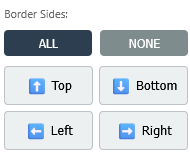
At the bottom of the borders menu we have : ALL, None, Top, Bottom, Left & Right..
All applies borders to all sides and none removes all borders.
After choosing "ALL" you can then switch individual side borders off and on again by clicking top, bottom etc.
Play around with it to see results..
Section 5 Corners
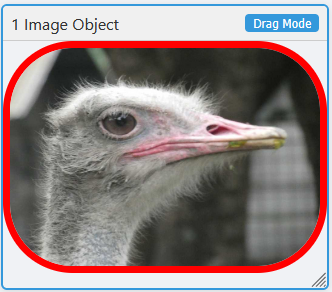
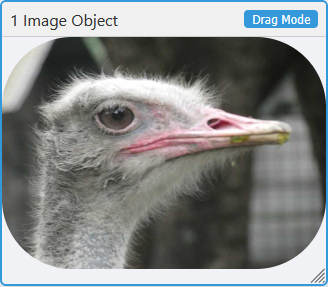
We can choose to have corners of things inside objects either rounded or squared (squared is default).
Click on the image object we created to select it (blue border appears on outside).
Now go to Format on the top Menu bar and choose corners.
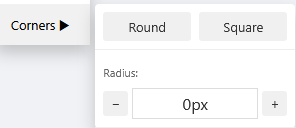
Select Round then increase/decrease Radius by using + & -.
Section 6 Rotation
We can rotate objects to the right or left up to 30 degrees in increments of 2 degrees.
This can apply to Text Objects, Image Objects, slideshow Objects and Video Objects.
Click on an object to select, then go to Format on the top Menu bar and choose Rotation.
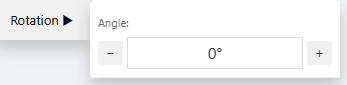
Choose "-" to rotate left and "+" to rotate right.
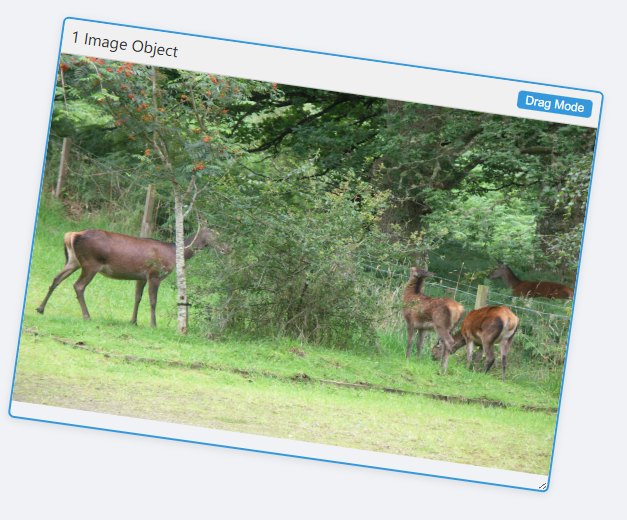
Select Round then increase/decrease Radius by using + & -.
Section 7 Change Image
When you create image objects they contain starter images. You will want to use your own images.
Create an image object with one image from Image Objects menu item.
Click on the image object we created to select it (blue border appears on outside).
Now click on Swap Image on the top Menu bar.
You will get the pop-up menu shown below.
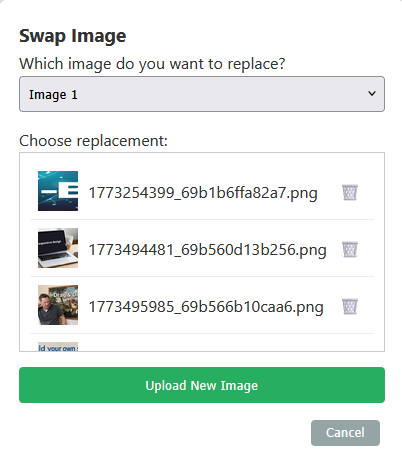
You will be asked which image do you want to change. As we created an object with one image then image 1 is the only option.
Below this is a list of images that have been uploaded, you can select from these or choose to upload a new one.
You can also delete any images you have uploaded but don't want to use by clicking on the bin symbol to right of the image.
Choose the image you want to use or click on upload new image.
When you upload a new image, you will have to choose Swap Image from top menu bar again to see the new uploaded image in the list.
Section 8 Shaped Image
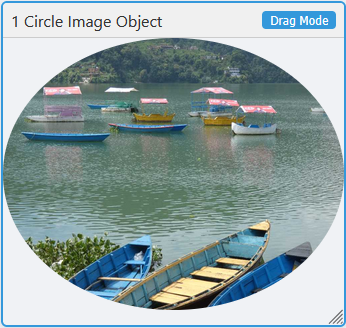
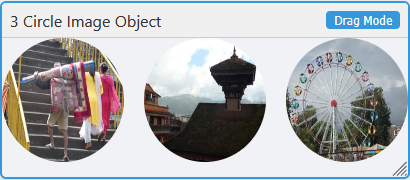
When you click on Image Objects in top menu bar you will see on the dropdown list you will see 5 different image shapes to choose from.
Image is basic squared image then you have circle, heart, star,& triangle.
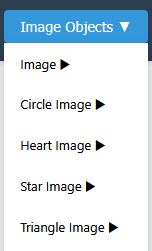
Try them out to see what you get (best sticking to one image in the object for now).
Section 9 Blank Shapes
When you click on Image Objects in top menu bar on the dropdown list you will see 5 different blank shapes at the bottom to choose from.
Square, circle, heart, star & triangle.
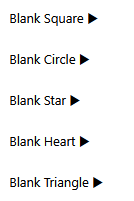
Choose a blank shape (stick to 1 shape in the object for now).
You will then see a grey shape.
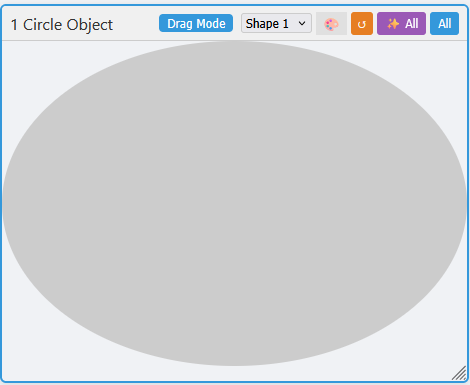
You will notice that blank shapes have extra buttons attached (other than the drag mode/resize button).

After the Drag Mode button we have a section to slect the shape inside the object (we only have one shape).
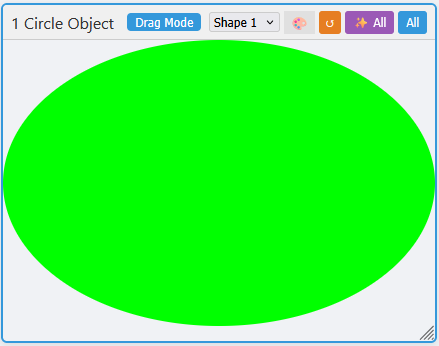
Next is a colour pallet symbol .. this is to give the shape a colour
Next is a hover colour symbol - this allows the shape to change colour when mouse is placed over it.
There are also buttons to apply colour to all shapes and all backgrounds( if we created an object with more than one shape).
Try it out to see how it works.
Section 10 Slideshows
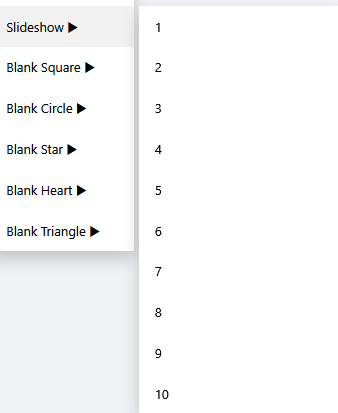
Smack in the middle of the Image Objects dropdown menu is Slideshow.
Clicking on slideshow shows the numbers 1- 10 like other objects in this secion.
Select a number to choose how many images you want in your slideshow.
You will now have an object on the screen containing a slideshow..
I chose 4 images for my slideshow and my object looks like the image below.
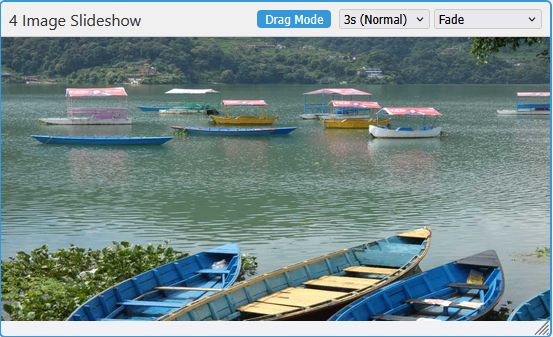
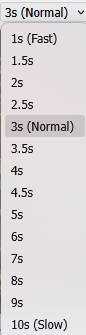
You will see two options in the object menu bar (apart from usual Drag Mode button).
Clicking the first option produces a dropdown with a selection of speeds for your slideshow.
Option 2 gives a list of available transition types for your slideshow.
Play around with the options to see the different results.

When you create slideshow objects they contain starter images. You will want to use your own images.
Click on the slideshow object we created to select it (blue border appears on outside).
Now click on Swap Image on the top Menu bar.
You will get the pop-up menu shown below.
You will be asked which image do you want to change. My slideshow has 4 images so I have 4 options.
Below this is a list of images that have been uploaded, you can select from these or choose to upload a new one.
You can also delete any images you have uploaded but don't want to use by clicking on the bin symbol to right of the image.
Choose the image you want to use or click on upload new image.
When you upload a new image, you will have to choose Swap Image from top menu bar again to see the new uploaded image in the list.
Section 10 Visibility/Opacity
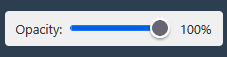
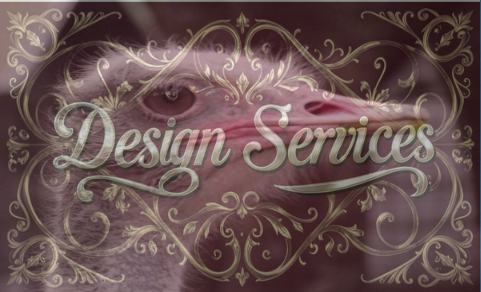
On the top menu bar is a sliding scale named "Opacity", this is for making objects partly visible.
100% means the object is completely visible and 0% means totally invisible.
Opacity is useful for when you have many objects on the canvas and can't see where they all are.
Turn opacity down a bit to see what is underneath it.
Slide opacity to value then let it go to see effect.
Section 12 Layers
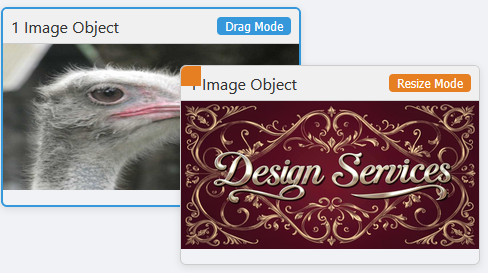
When objects are created, each new object is created on top of all other objects.
If you create an image object, then create another, they are both created on the same spot so it looks like there is only one object.
Last one created is on the top (layer) so we cannot see the bottom one until we select Drag mode and drag the top one out of the way.
Changing layer can make one go above the other and vice versa.
Create an image object, then create another.
Select the top image then seelct "Swap Image" from the top menu bar and choose a new image.
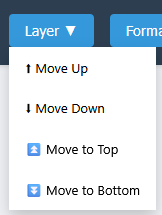
Then whilst the top image is still selected, click on Layers in top menu bar and choose send to bottom.
You will now see that the image underneath moves to top layer and the image we changed becomes bottom layer.
So we can stack objects anyway we like by changing layers and dragging into position.
Section 13 Multi-Image Spacing
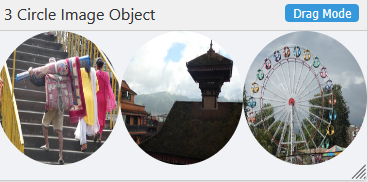
If we create objects containing more than one image, we can increase/decrease the spacing bewteen images.
Select an object with more than one image in it, then on top menu bar select Format then Spacing.
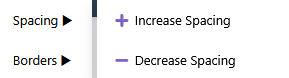
From here you can increase/decrease the spacing between images in the object.
Section 14 Delete Objects
We can delete any object from the canvas.
Click on the image object we created to select it (blue border appears on outside).
Now go to Delete Object on the top Menu bar and click.
You will be asked to confirm or cancel. Confirm to delete the object.